Handicare FreeCurve Stairlift Installation in Calgary
To begin with any stair lift installation, one particularly important thing is to make sure that the pitch of the various segments are exactly correct. There is a requirement in this project to be 37.2 degrees and we don’t want to be off from that at all. We began the project with the drawing which was created by using the PhotoSurvey system. And when you zoom in, you can see these measurements including angles which will guide our installation process.
Here we see the placement of the first stanchion along with the three bolts that will secure it to the floor. We can do this right through the carpet and when the stair lift is removed, you won’t notice evidence left behind.
Now we are placing and installing the tubes which support the chair seat as it’s riding up the stairs. We are carefully placing it to ensure it is at the correct pitch and angle so that the client will be assured a smooth and safe ride. You can see they are taking care to protect the floor during the placement.
Now the stanchions are in place and the bottom and second tube are connected. They’ve also pulled through the cables to the next level so that the first charging station on this level can be connected.
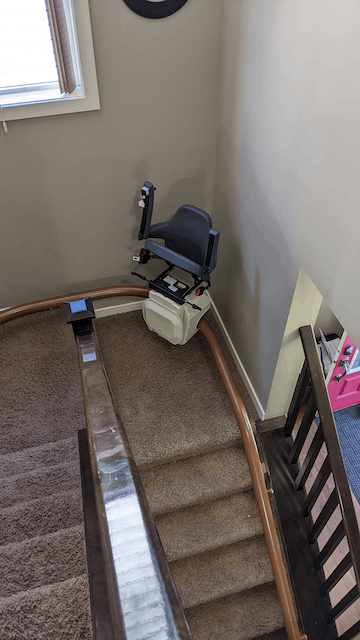
The plan calls for the rail to be installed precisely 210mm from the wall at the top. Once the client is at the top, they have the ability to turn the seat.
The client chose the ‘Turn ‘n Go’ option at the top for their installation. This makes it easier to exit the stairlift.
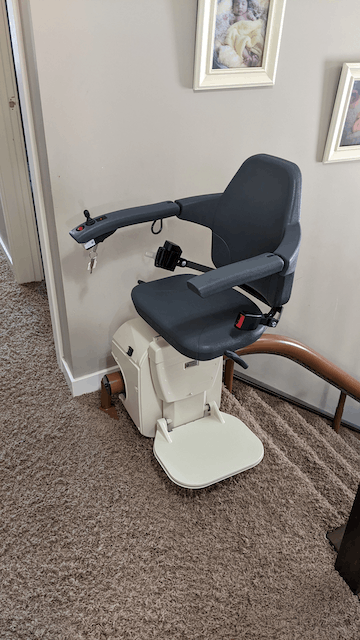
This client wanted to store the stairlift out of the way when not in use so we added a charging/park station on the landing. They use either of the two remote controls that come with the stair lift to send it away or call it back. However, when the client is using the lift with the toggle on the arm, it won’t stop at the park location.
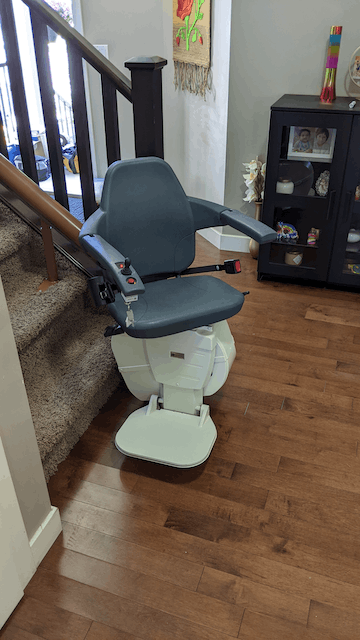
This stairlift has what’s called a ‘drop nose’ at the bottom. That keeps the stairlift from protruding too much out in the the bottom landing area, making it as safe as possible for everyone in the home.
The ‘Turn ‘n Go’ feature is again activated at the exit point at the bottom of the stairlift. This will make it both safe and convenient for the client to get out of the chair. At this point, once they’ve exited the seat, they’ll use one of the remotes to send it back up to the landing for storage and charging; this will ensure that it doesn’t become an obstacle for any other people in the home.

If you’d like to see the full story, take a look at the complete installation video. No modifications or renovations required when installing a curved stair lift. Take a look at the interesting features of the Handicare FreeCurve stairlift installation.
Learn more about how a curved stairlift can easily be installed in your home and find out what features are available.


